

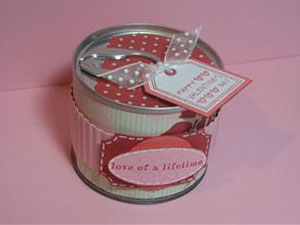
Altered Pop Top Can
Alter a pop top can container and fill it with goodies. It makes a great gift container for small gifts or candy.
Supplies
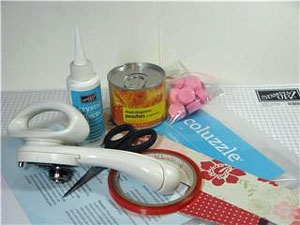
- Pop Top Can
- Safety Can Opener
- Coluzzle™
- Patterned Paper
- Scissors
- Sticky Strip™
- Candy or other filling
- Crystal Effects or other STRONG glue
Step-by-Step
-
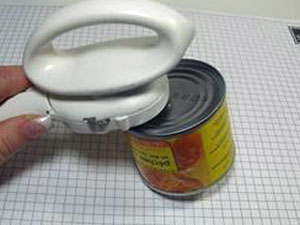
Step 1
Open the can AT THE BOTTOM with a safety can opener. Drain contents and wash container.
-
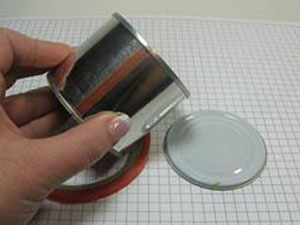
Step 2
Apply Sticky Strip™ at the seam of the can.
-
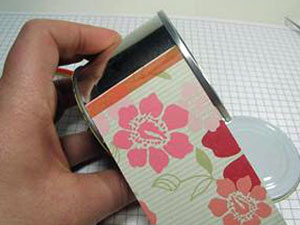
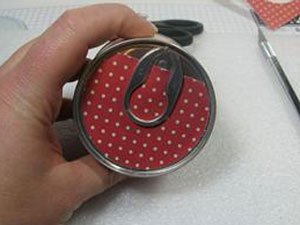
Step 3
Cut patterned paper tall enough to cover the area between the top and bottom of the tin, and long enough to wrap around the can, leaving a slight overlap.
Adhere over the Sticky Strip™ and add more Sticky Strip™ to the end of the paper. Remove the red liner, then wrap the paper around the and adhere.
-
Step 4
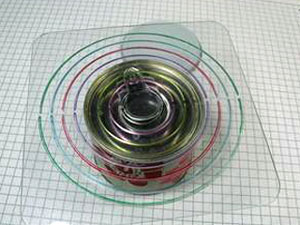
Measure the top of the can with a Coluzzle™ template. Only measure the metal area that is going to pop out when the can is opened.
-
Step 5
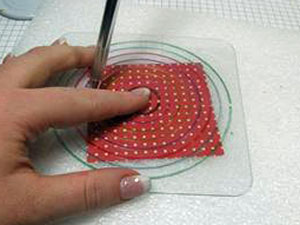
Cut circle to fit.
-
Step 6
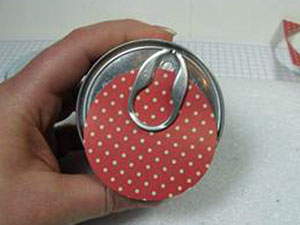
Slide paper under the tab to get an idea of how much will need to be cut off.
-
Step 7
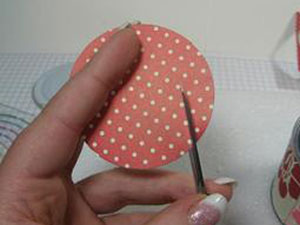
Use your scissor to cut off a side of the circle. There is no set amount, but start with a little and keep trimming until it fits.
-
Step 8
Using Sticky Strip™, adhere paper circle to the lid of the can.
-
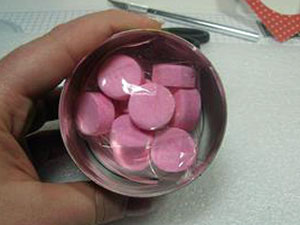
Step 9
Now, fill the can. Turn it upside down and add desired contents. If adding food items, put them in a baggie. This way, the glue used to close the container will not touch the food.
-
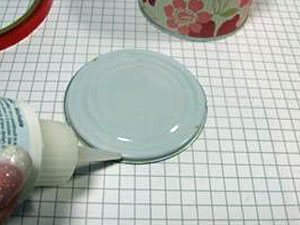
Step 10
Apply a thin strip of Crystal Effects™ (or other STONG glue) all the way around the outer rim of the cut out bottom.
-
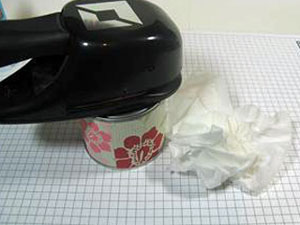
Step 11
Press the bottom back on, wiping away excess glue with a tissue.
Leave can upside down and weigh down a heavy object on top until the glue has dried for a few hours or overnight.
When dry, embellish as desired!!
-
Step 12
Finish decorating your can.
No comments:
Post a Comment
Thank You For Stopping In, Please come back soon, I will have many new Card and Ideas as well as Video Tutorials.. I hope you have a wonderful Day!