

Gable Box
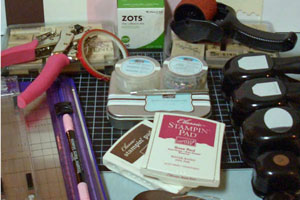
Supplies
- One 8 1/2" x 11" piece of Cardstock
- Paper Cutter with scoring tool
- Sticky Strip™ or other strong adhesive
- Scissors
- Stamps
- Ink
- Punches
- Corner Rounder
- Crop-a-Dile™
- Embellishments
Step-by-Step
-
Step 1
Score 11” side of cardstock at 1/2", 3 1/2", 5 3/4", and 8 3/4".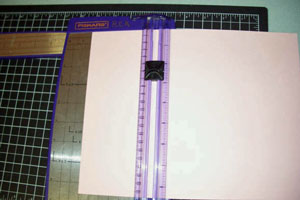
-
Step 2
Score the 8 1/2” side at 3" and 6 1/2".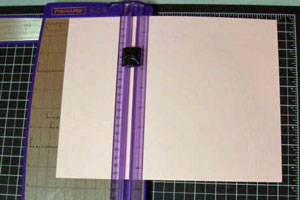
-
Step 3
Fold the bottom of the card stock (the portion with the short scored sections) under and stamp across the exposed area of card stock.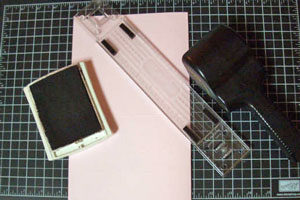
-
Step 4
Cut each score line up to the intersecting score line to create flaps as shown.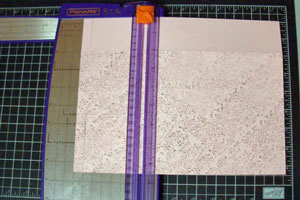
-
Step 5
On one edge of the card stock, you’ll have 1/2” flaps.
Cut off the two 1/2" flaps on the ends, leaving the center flap.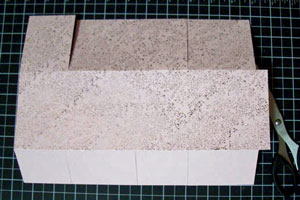
-
Step 6
Place Sticky Strip™ on the 1/2" flap.
Be sure to place the adhesive strip on the front (stamped) side. Leave the liner on the adhesive.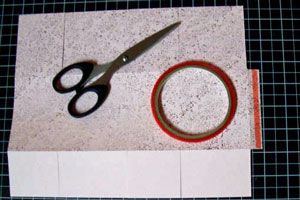
-
Step 7
Place Sticky Strip™ on the other flaps as shown to createl interior sections of the box.
Leave the liner on the adhesive.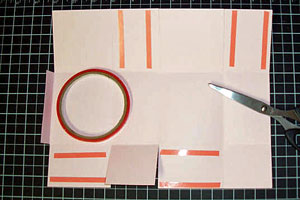
-
Step 8
Center punch over panel and push the cardstock all the way into the Wide Oval punch to create handles for the box.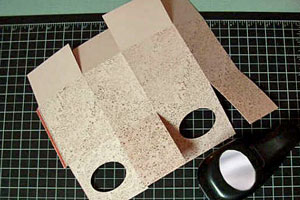
-
Step 9
Use the corner rounder on the corners of the handles.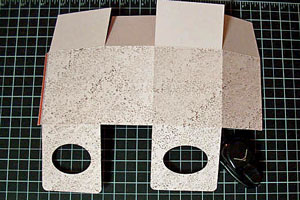
-
Step 10
Peel the liner from the 1/2" flap on the side of the box (mid section).
Fold the box into shape so that the ends meet the adhesive. If necessary, fold the flaps out of your way.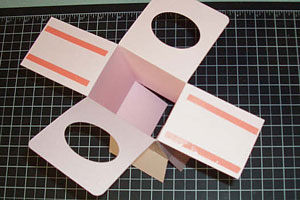
-
Step 11
Peel the liner from the side flaps and adhere them to the interior sides of the box for added stability.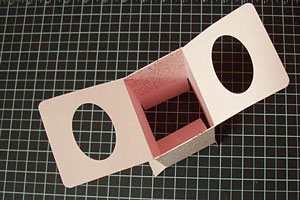
-
Step 12
Remove the liner from the bottom flaps.
Fold in the two smaller flaps and then adhere one of the longer flaps to the smaller flaps.
I fold in the flap that’s on the side where the seam is so the front of the box will be seamless.
Fold the remaining flap into place.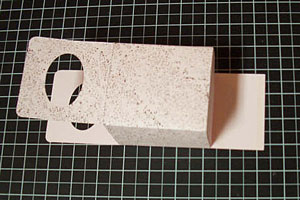
-
Step 13
Decorate the front of the box. Use the Crop-a-Dile™ to punch holes for the ribbon closure.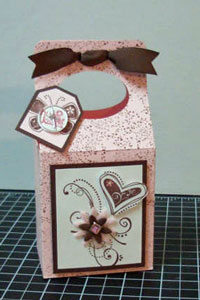
No comments:
Post a Comment
Thank You For Stopping In, Please come back soon, I will have many new Card and Ideas as well as Video Tutorials.. I hope you have a wonderful Day!